Whether you’re introducing students to microhabitats, monitoring water quality, or conducting field work, the SPARKvue Map display unlocks a new world of spatial insights for you and your students to explore. With the SPARKvue Map display, students can plot sensor measurements on a live map, compare conditions across locations, and explore the exciting world of GIS applications.
Bring GIS into Your Science Course!
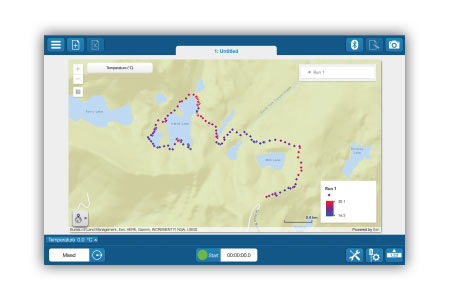
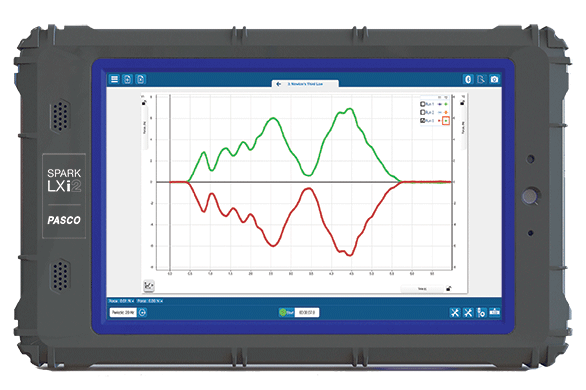
Uncover spatial patterns by mapping sensor measurements in real time. Monitor your map using a smartphone, SPARK LXi2, or a GPS-enabled tablet.
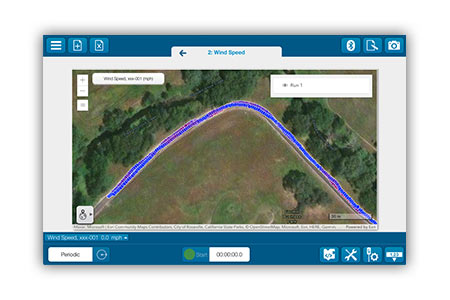
Visualize conditions across locations—ranging from playgrounds to field sites!
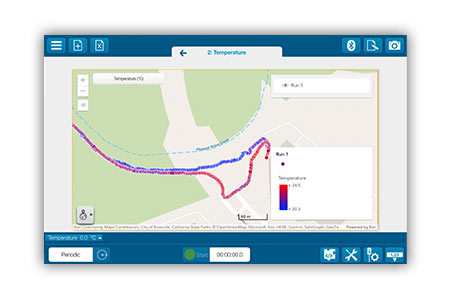
Explore GIS applications in science education and beyond. Conduct class studies or join a citizen science project.
SPARKvue Map Display at a Glance
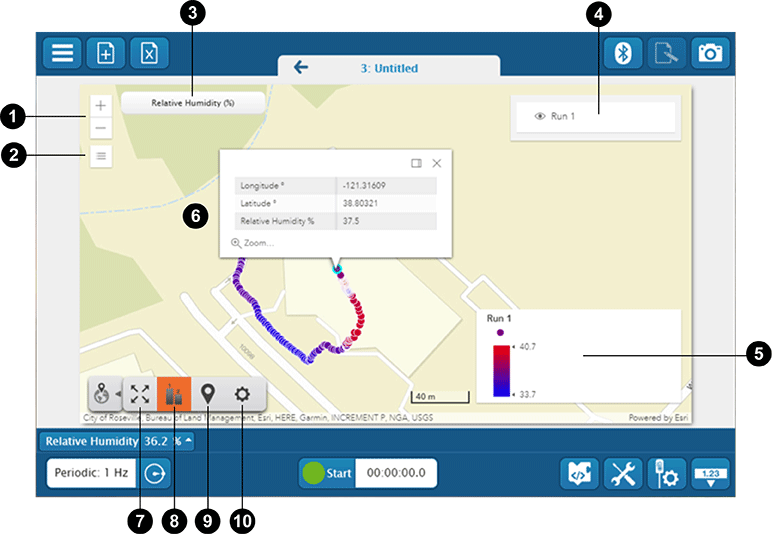
The SPARKvue Map display streamlines GIS activities by providing students with a detailed, yet intuitive interface that is easy to use. As students collect measurements, the values appear on the map with color-coded intensity, giving them real-time insights into their local environment. They can also navigate between experiment pages to view data in a table, graph, or digits display, without disrupting data collection. After the investigation, the data can be saved as a SPARKvue file or exported to ArcGIS for further analysis.
Zoom
Click + to zoom in or − to zoom out the map.
Map Type
Choose from more than 20 map types, including satellite, streets, and topographic.
Measurement Selector
Click to select or change the displayed measurement and units.
Run Selector
Click a run to show or hide that run on the map.
Legend
Shows the displayed range for each run and how the data point colors correspond to the value of the measurement.
Map
Drag the map to move it. Click a data point to display its values.
Scale to Fit Tool
Click to automatically scale the map to show all data.
Legend Tool
Select to show or hide the legend.
Location Tool
Click to center the map at your current location. GPS required.
Properties
Change the units between metric and US customary.
Introduce Students to GIS with our Award-Winning Weather Sensor
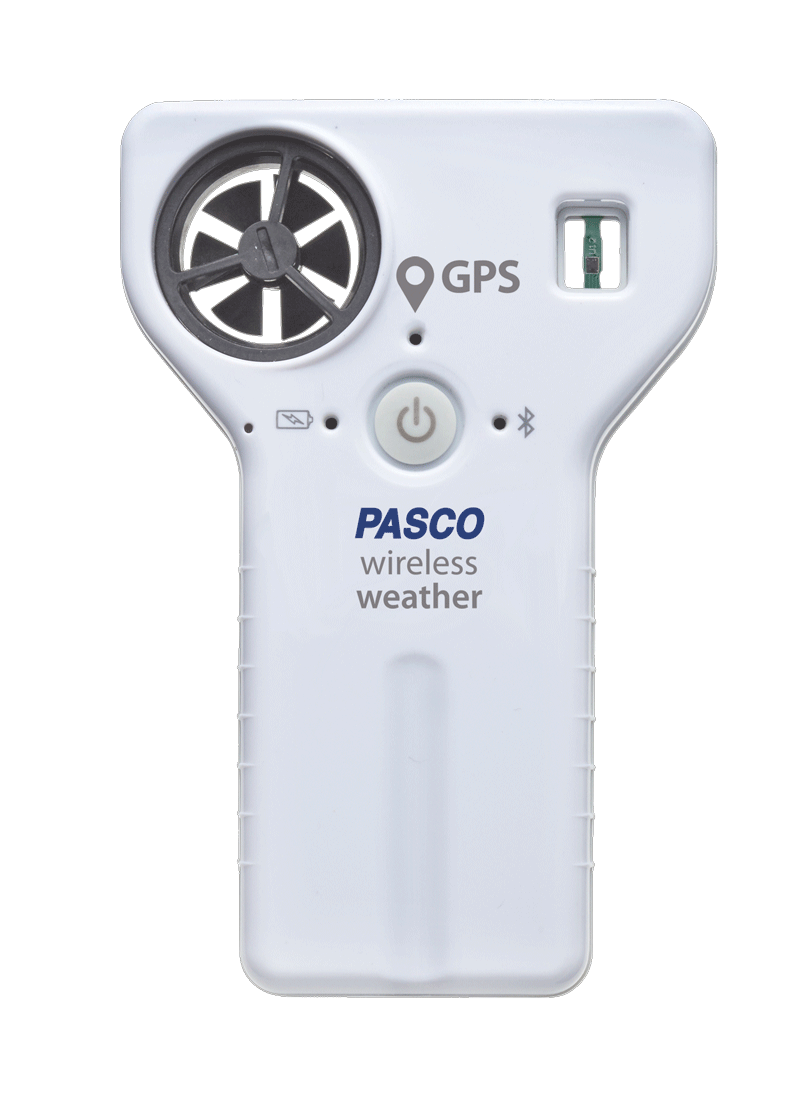
The Wireless Weather Sensor provides both GPS and sensor data, allowing students to study their surroundings while viewing a live map of their measurements.
- Collect up to 19 different measurements at once.
- Survey locations of all sizes—big or small!
- Conduct field studies of temperature, humidity, wind speed, and more.
How to Map Sensor Data in SPARKvue
SPARKvue makes mapping measurements easy, so you and your students can explore GIS applications without any additional technology. All you need is a PASCO Wireless Sensor, SPARKvue software, and a GPS-enabled device. Follow the simple steps below to start mapping sensor data with your students today!
What You Will Need:
1. Open SPARKvue.
The SPARKvue app allows students to monitor live data, generate graphs, and map measurements on most devices. It is available for free from both the Apple App Store and the Google Play Store.

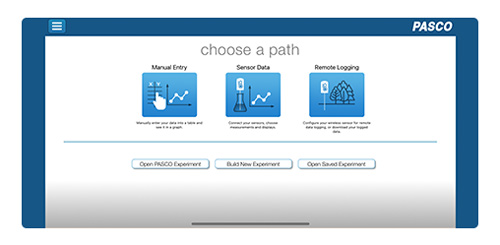
2. Select Sensor Data from the Welcome Screen.
3. Connect the Wireless Sensor.
For in-depth studies, consider collecting measurements with multiple sensors. Measuring both temperature and illuminance, for example, will provide students with more context than measuring temperature alone.
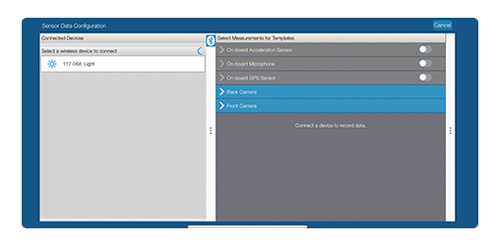
4. Select the measurements you want to collect.
To map measurements, sensor data must be paired with GPS data collected from a smartphone, SPARK LXi2, iPad®, or Android tablet.
Toggle the On-board GPS Sensor switch to grant SPARKvue access to your device’s GPS. *
* When using the Wireless Weather Sensor with GPS, the external device does not need GPS capabilities. After connecting the sensor, simply select the GPS measurements in SPARKvue to turn them on.
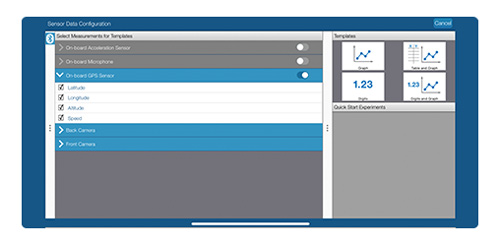
5. Select any template.
Select a template to visualize data in a graph, table, or digits display.
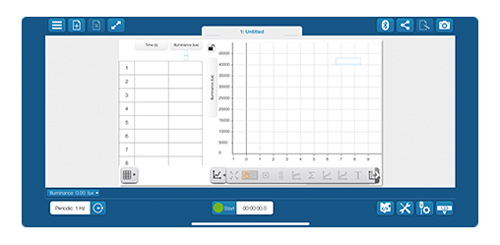
6. Add a page and launch the map display.
Click  to add a new Experiment Page.
Select the full-page layout and click
  to launch the Map display.
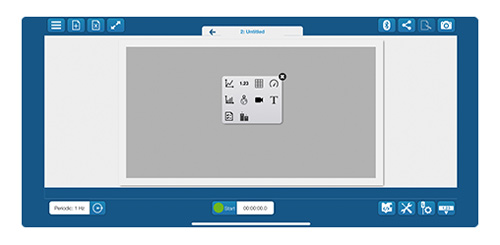
7. Select a measurement to map.
Choose a measurement to view on the display. Add additional pages to map multiple measurements.
If you are using the Wireless Weather Sensor with GPS, the GPS must be turned on to collect location data. If you are using a GPS-enabled device, SPARKvue will automatically retrieve the data.
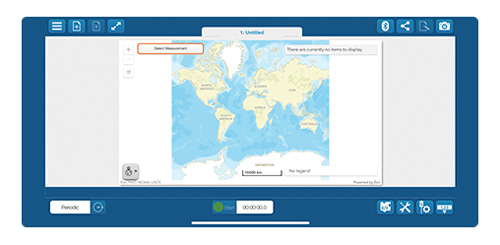
8. Start mapping data!
Select Start to begin collecting data. Use the arrows at the top of the page to navigate between journal pages.
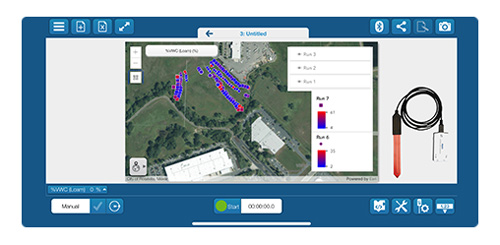
Reveal Spatial Patterns in Soil Moisture
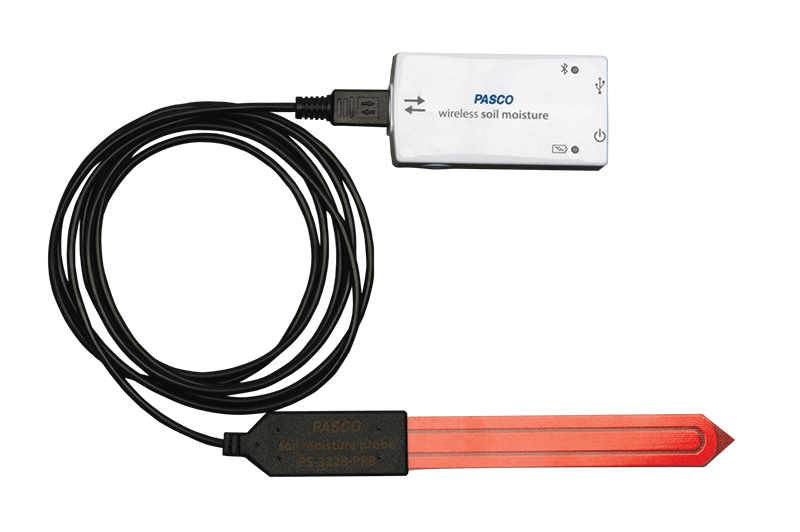
When paired with the Wireless Soil Moisture Sensor, the Map display allows students to visualize local patterns in soil moisture, revealing them as a range of color shades.
- Compare soil moisture in the sun and shade.
- Make measurements along an incline to uncover spatial patterns.
- Study the relationship between soil moisture and erosion risk.
Learn more with the SPARKvue Help Guide!
View steps for using the SPARKvue Map display—plus dozens of other features!
Visualize CO2 Concentrations in the Field
The Wireless CO2 Sensor lets students compare carbon dioxide gas concentrations across locations, providing them with the geographic context they need to test their hypotheses.
- Perform long-term monitoring of a local environment.
- Track seasonal changes in CO2 gas concentrations.
- Map CO2 levels in areas with high and low albedo.
How to Export Sensor Data to ArcGIS Online
While most GIS activities can be performed directly in SPARKvue, sometimes students need additional insights that can only be gained by importing the data into ArcGIS. Developed by Esri, ArcGIS is a web-based mapping software that is widely used by students and researchers alike. Students can use ArcGIS features to create detailed maps, analyze data, and even collaborate with peers. Follow the steps below to import data collected in SPARKvue into ArcGIS Online.
1. Export the data from SPARKvue.
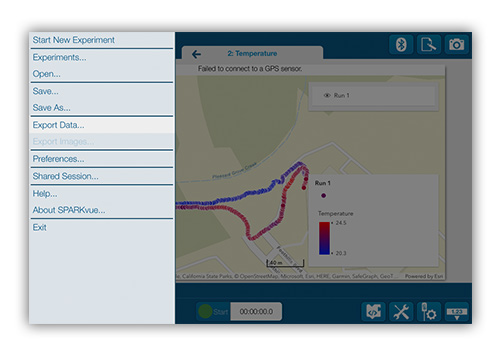
In SPARKvue, select  and choose Export Data. Export the data as a comma-separated values file (.csv).
2. Format your data.
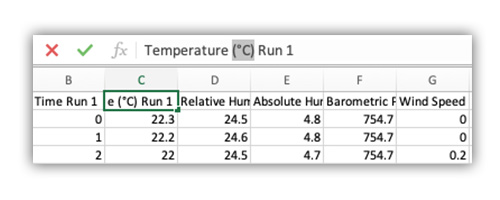
Open the .csv file in a spreadsheet editor, such as Microsoft Excel®, to edit the heading names. Be sure to remove any special characters (e.g., degree, ampersand symbols, etc.) from the headings and save the file.
3. Log in to ArcGIS Online.
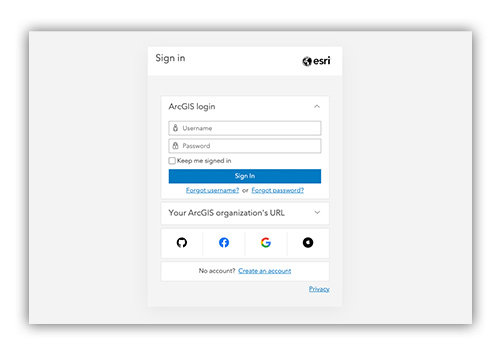
ArcGIS offers free public accounts for both students and educators. Visit the ArcGIS website to create an account for free or sign in to an existing account. Then select the MAP tab from the top of the page.
4. Import your data into ArcGIS.
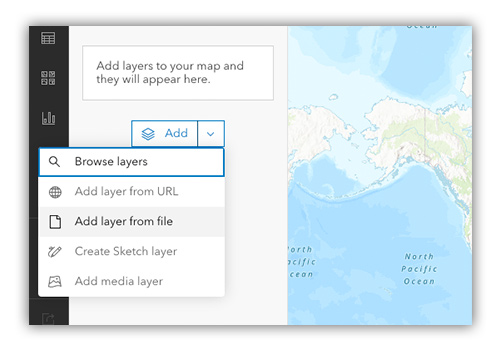
To import your data, click the “Add” button and select “Add layer from file.”
5. Confirm the fields you want to map.
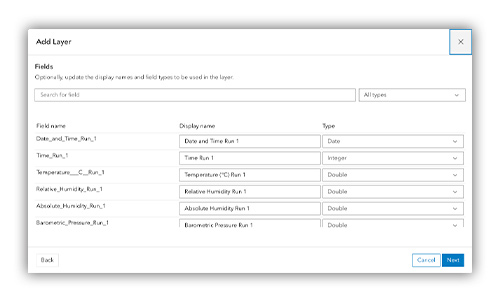
Customize how data is displayed on the layer, including display names and measurement formats.
6. Identify fields for latitude and longitude.
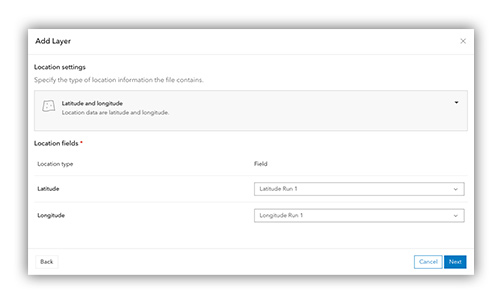
Use the drop-down fields to specify source data for both latitude and longitude.
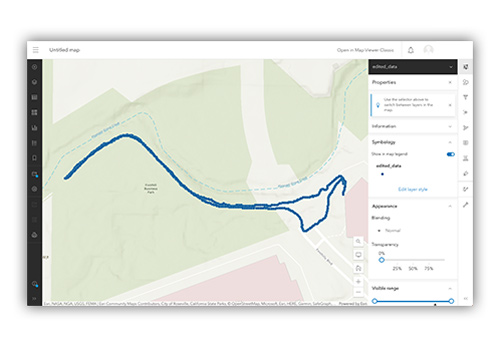
7. Start exploring your data!
Edit the layer to visualize data from different sensors, sketch a new layer, or to add media.
Additional Resources
If you have additional questions regarding our equipment or software, contact PASCO Technical Support. We're here to help.


